


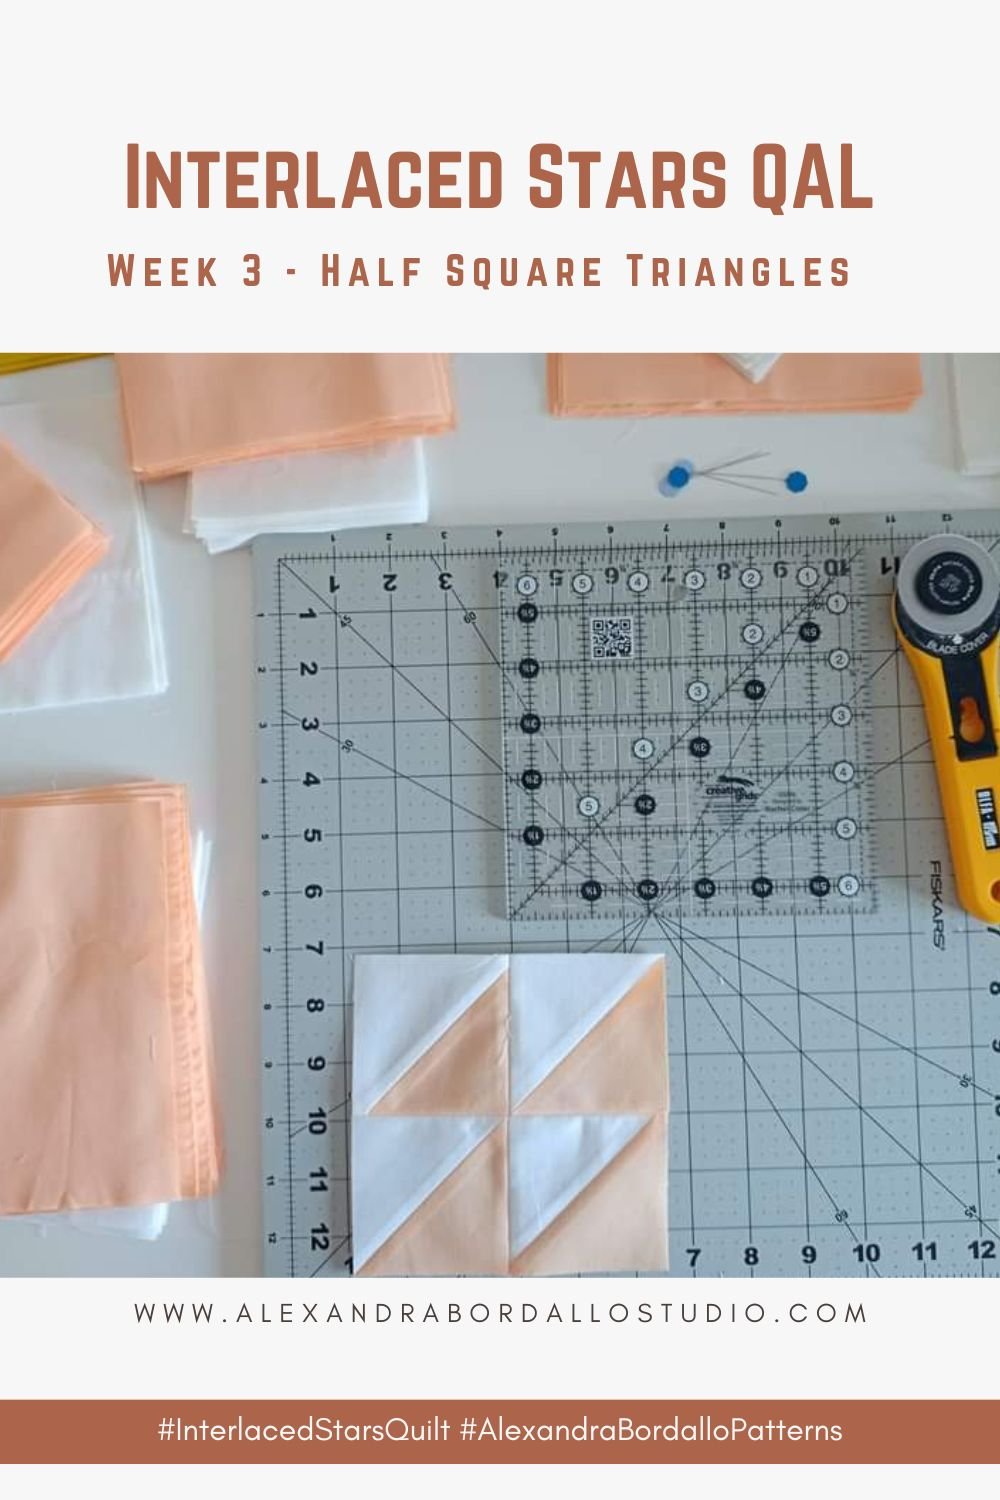
It's week 3 of the Interlaced Stars quilt sew along and this week we are sewing our Half Square Triangles. If you need the pattern, you can GRAB YOUR COPY HERE.
Interlaced Stars Quilt Along Schedule
- Week 1 (Jan 15th to Jan 21st): Fabric & Cutting
- Week 2 (Jan 22nd to Jan 28th): Square-in-a-Square center blocks
- Week 3 (Jan 29th to Feb 4th): 8-at-a-time Half Square Triangles blocks
- Week 4 (Feb 5th to Feb 11th): How to trim Flying Geese units
- Week 5 (Feb 12th to Feb 18th): Sewing Starlight and Astros Blocks
- Week 6 (Feb 19th to Feb 25th): Quilt Top Assembly & Quilting Ideas
Share Your Progress - Join the conversation!
Ask questions and connect with fellow quilters using our official hashtag: #InterlacedStarsQuilt
You can also join our private Facebook group to connect with fellow quilters and Interlaced Star Makers. CLICK HERE TO JOIN and let us know you're a Interlaced Star Friend!
Half Square Triangles are often abbreviated HST in almost all quilt patterns and tutorials. What can say about HST? They are cute, perfect and really amazing blocks. There are different ways to sew them using squares and also triangle pieces.
Inside the Interlaced Stars pattern you'll find a beginner quilting tutorial to learn how to make half square triangles 8 at a time. This method is my favorite, especially when the patterns ask for lots of them. From two squares you'll get 8 beautiful and almost perfect Half Square Triangle units. Fun, right?
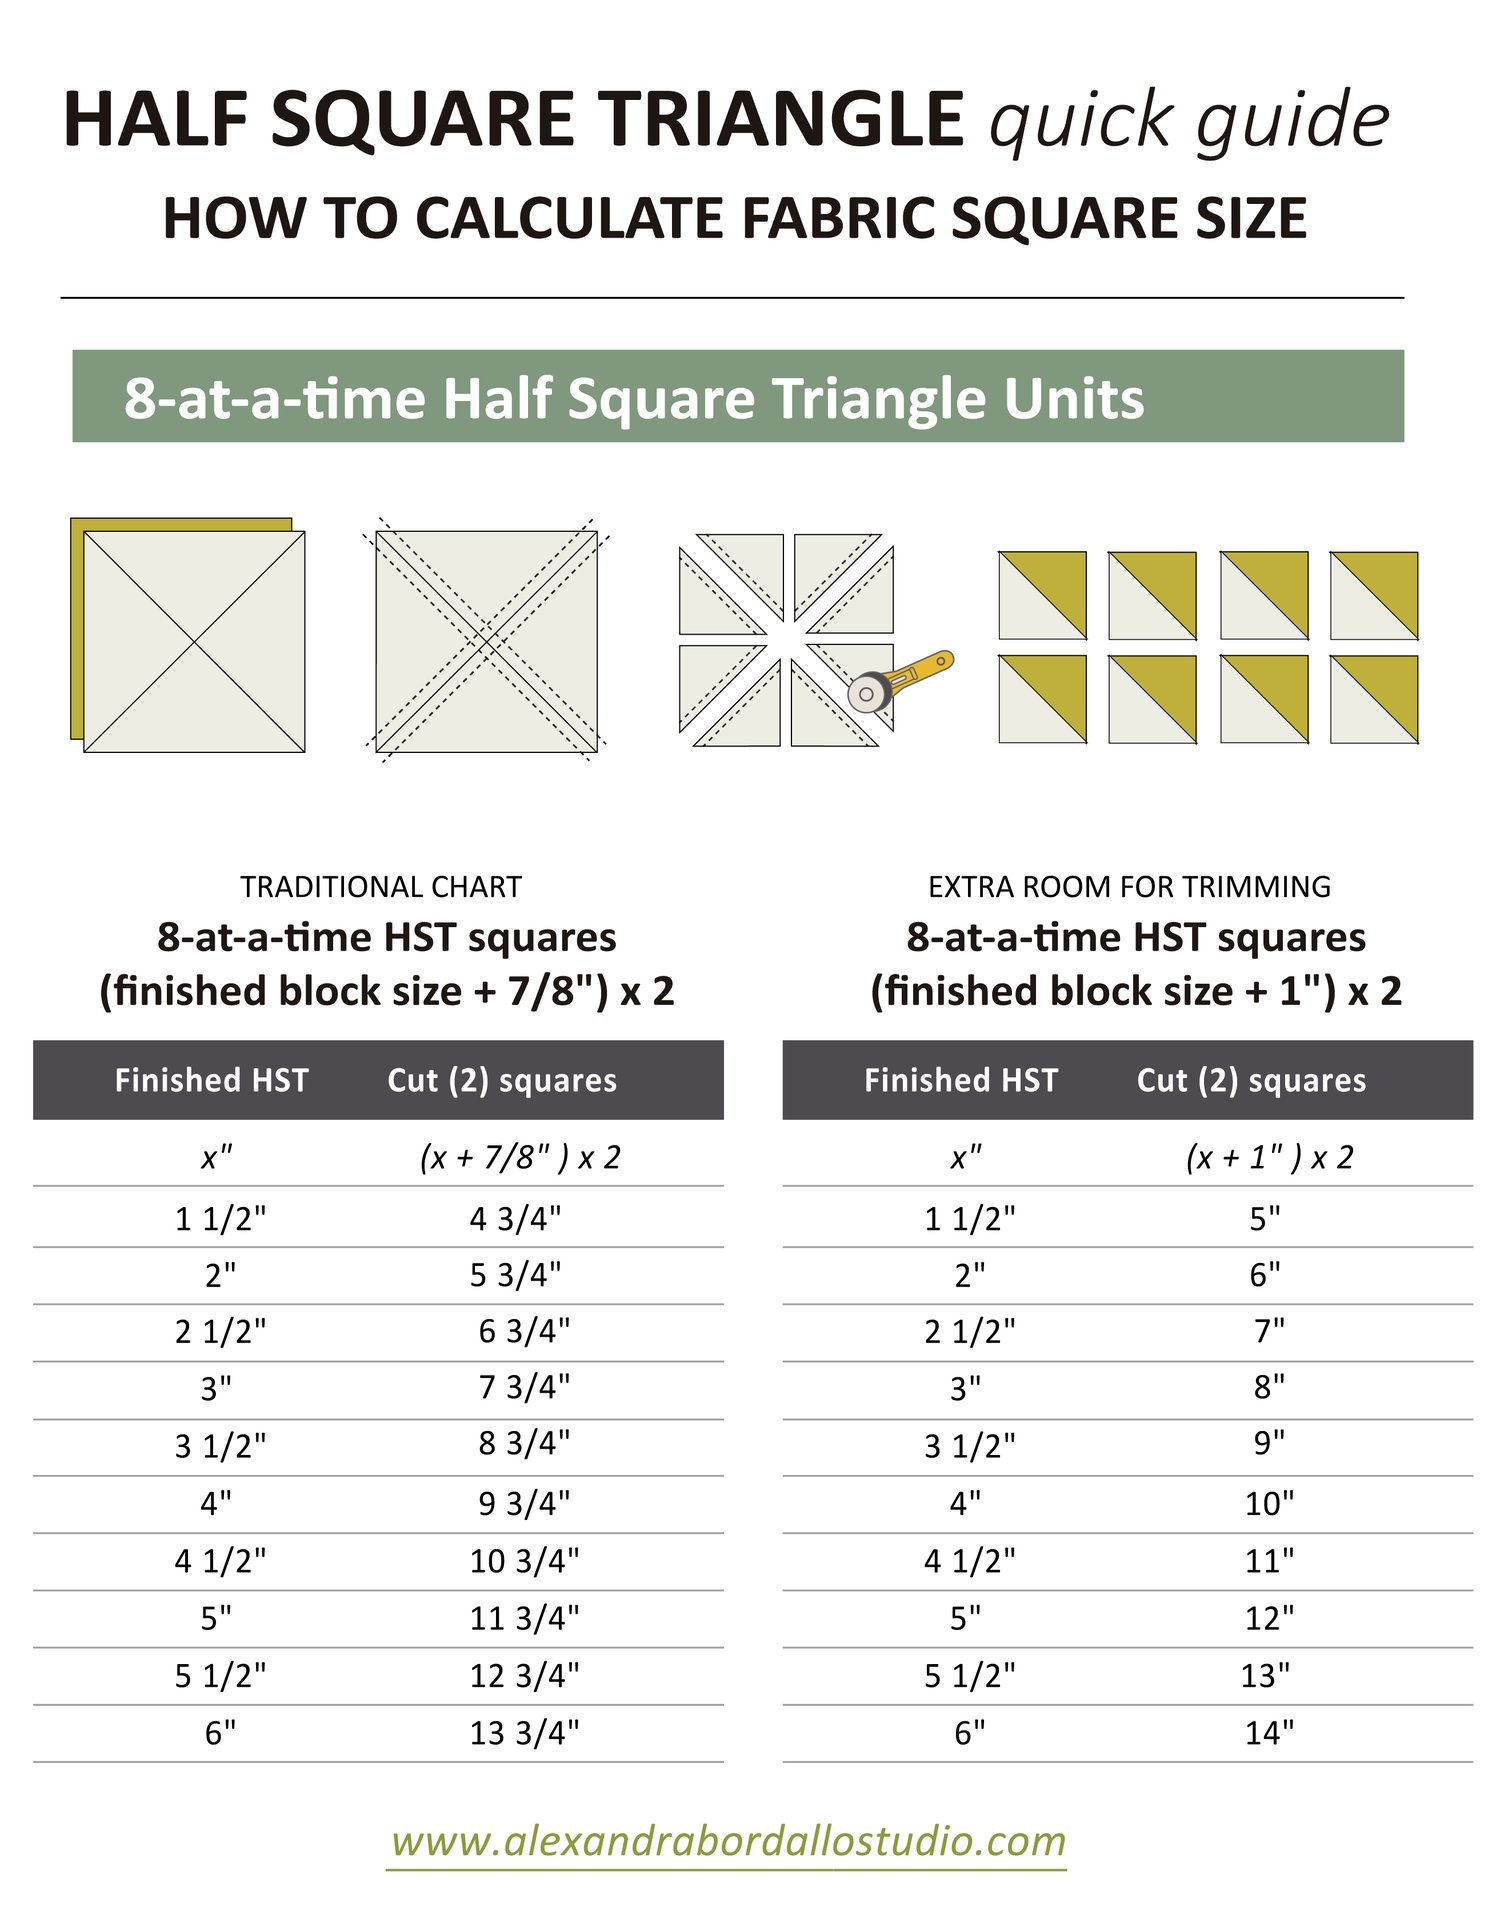
What is the formula for 8-at-a-time half square triangles?
Pretty simple: add 1" to the finished size + double it. This formula will give you a little extra room for trimming your HST units to the unfinished size.
A finished HST unit is 1/2" smaller because we need a 1/4" seam allowance all the way around the units before sewing them together to make a quilt block or quilt top.
If you prefer the no trimming method, follow the chart on the left (add 7/8" to the finished size + double it).
Making 8-at-a-time Half Square Triangles
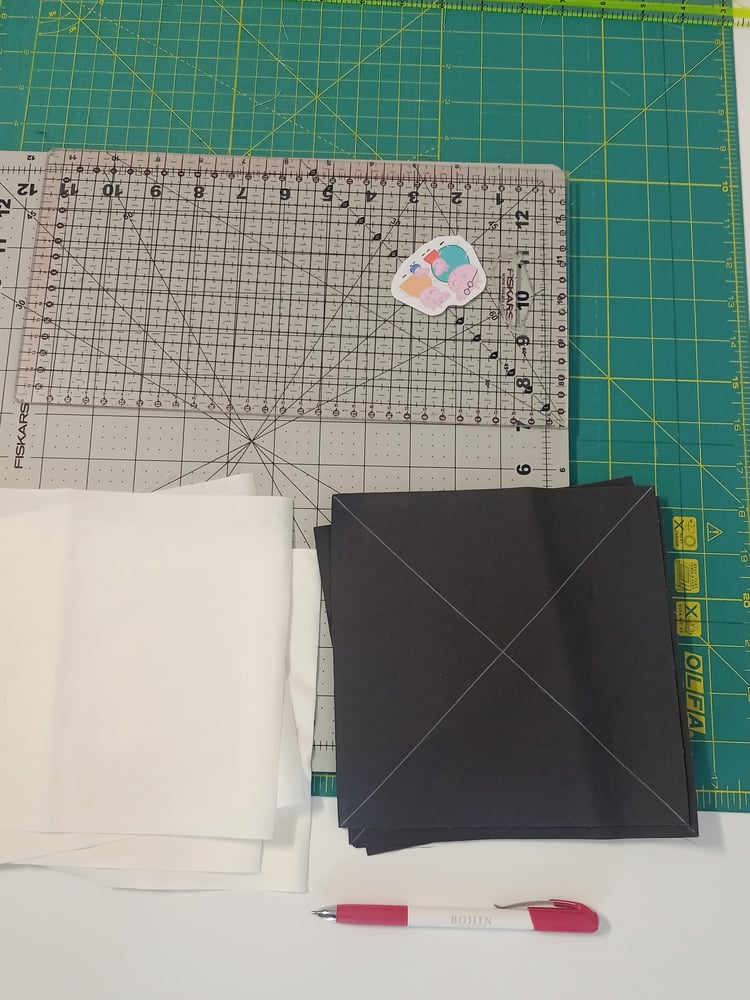
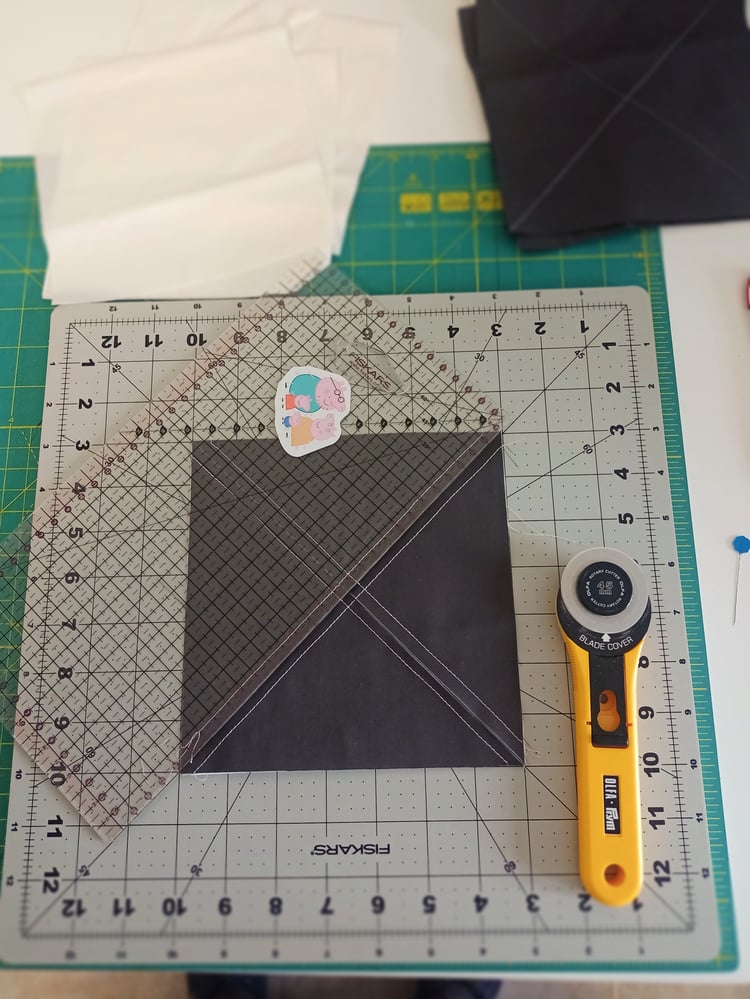
I am sharing some photos of my process. My 3 year old son decorated my ruler with his favorite Peppa Pig sticker while I was working on this tutorial yesterday, so here's his contribution :)
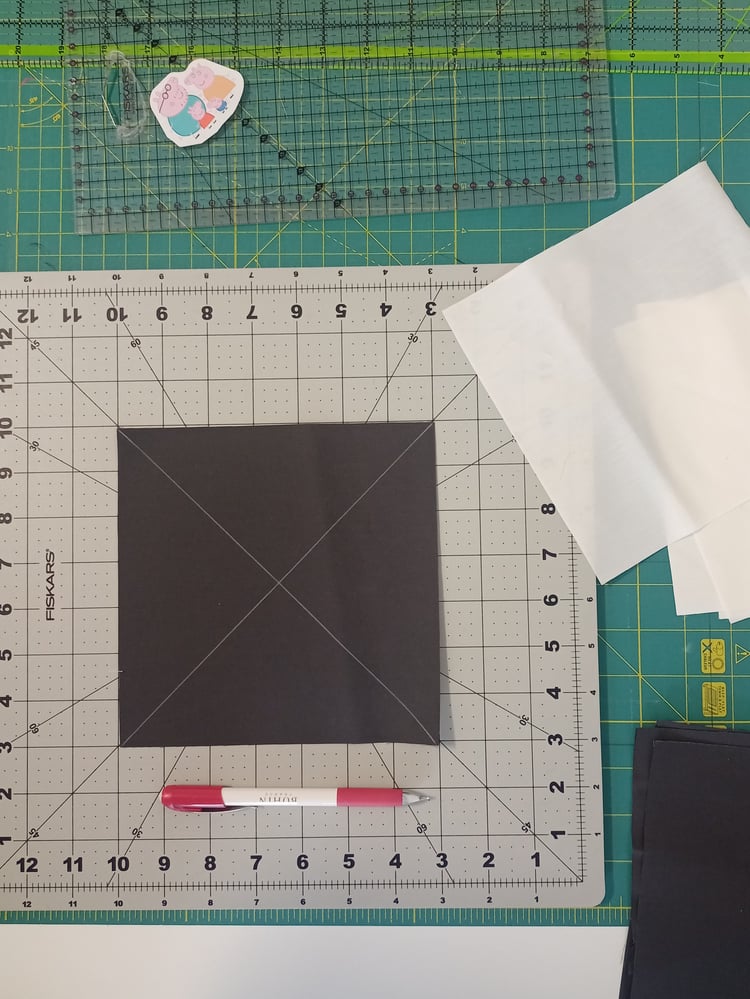
For this example, I'm making 3" HST unfinished size; when it's all stitched together each HST will be 2 1/2" finished size.
Following the cutting chart above, I cut (2) 7" squares, one in white and one is black. I always like to have a little extra room for trimming to the unfinished size.
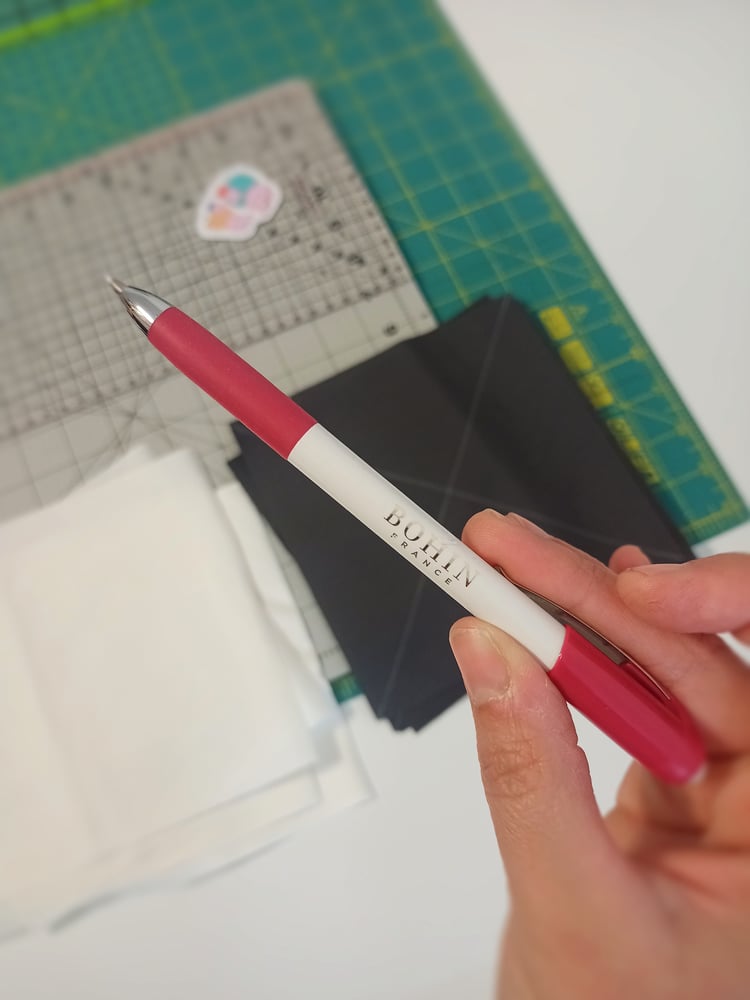
Draw a diagonal line across both diagonals on the wrong side of one of the two squares. As you can see, we need to draw a big X on one square, right from corner to corner. I usually mark the lines on the dark fabric. I love my new Bohin fabric marker pen! - not sponsored ;)
TIP: You can draw vertical and horizontal lines, which are going to be cutting marks. Having these additional cutting marks from center to center will help getting perfect squared blocks.
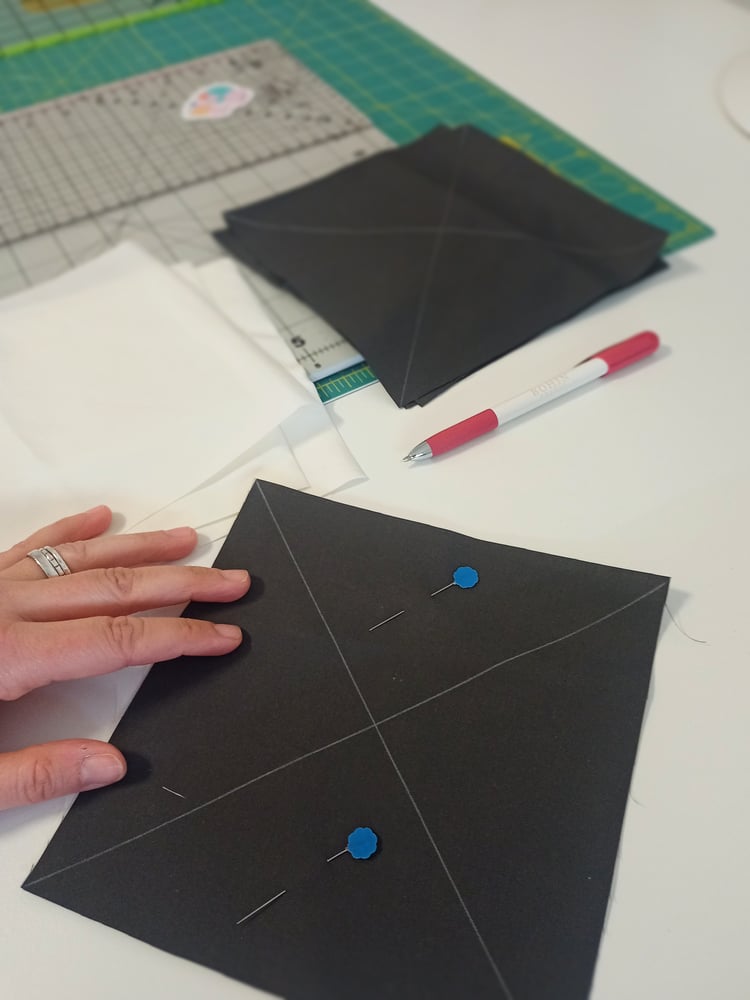
I don't usually use pins, but if you are getting started into quilting, I highly recommend you to use pins to secure your squares so they don't move while sewing the diagonal seams.
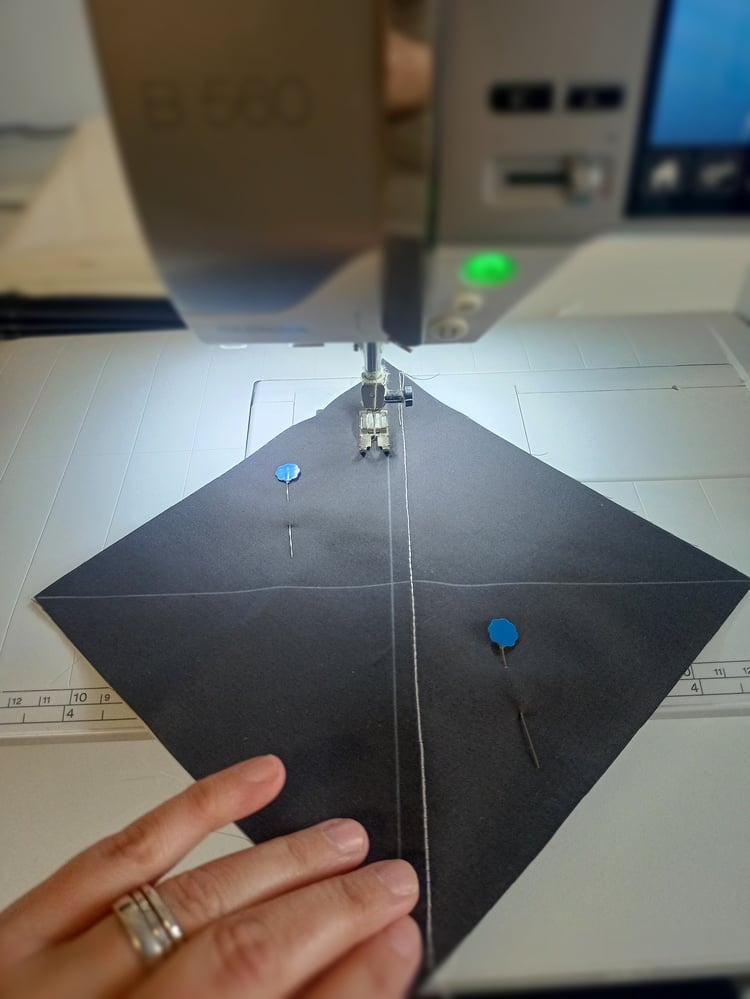
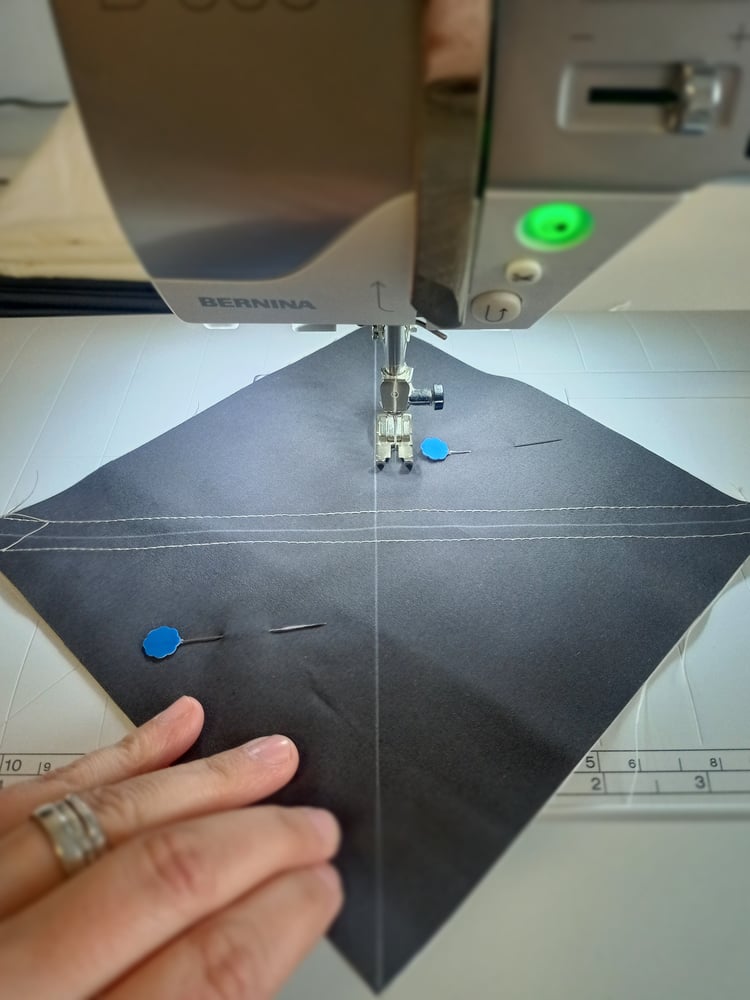
Sew a 1/4" seam away on each side of the diagonal lines. Use a scant 1/4" if you're following the Traditional Cutting chart on the left. You only need to sew four stitching lines.

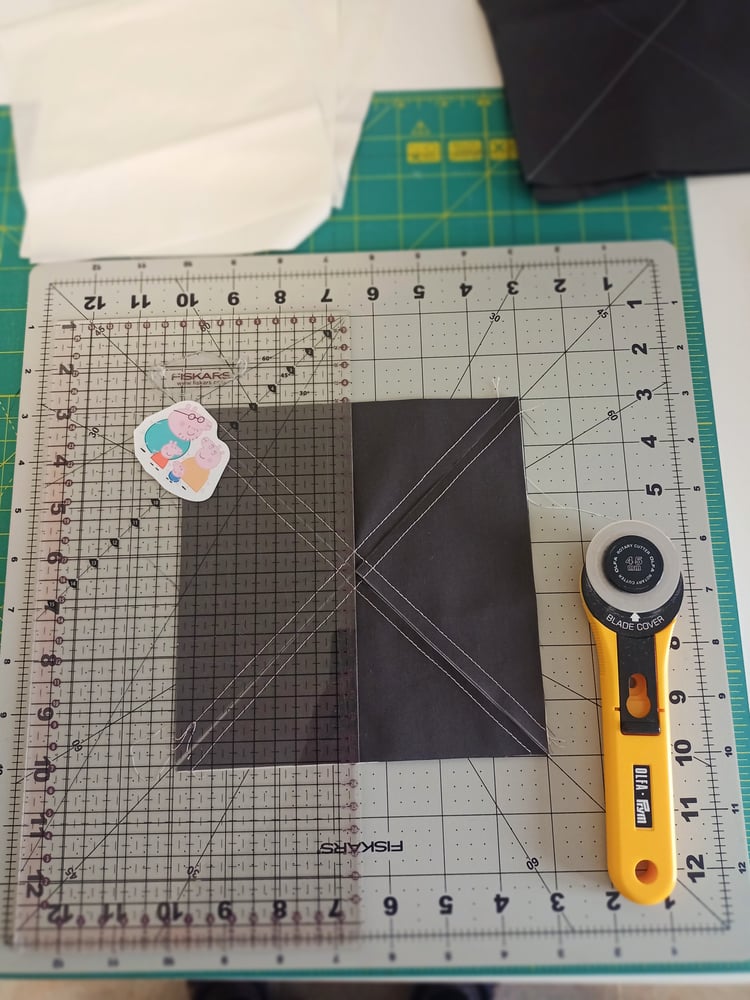
With the rotary cutter and quilting ruler, cut diagonally along the drawn lines, and then again along the vertical and horizontal halfway centers.
It doesn't matter which lines are you cutting first. You can start cutting the vertical and horizontal marks and then the diagonals.
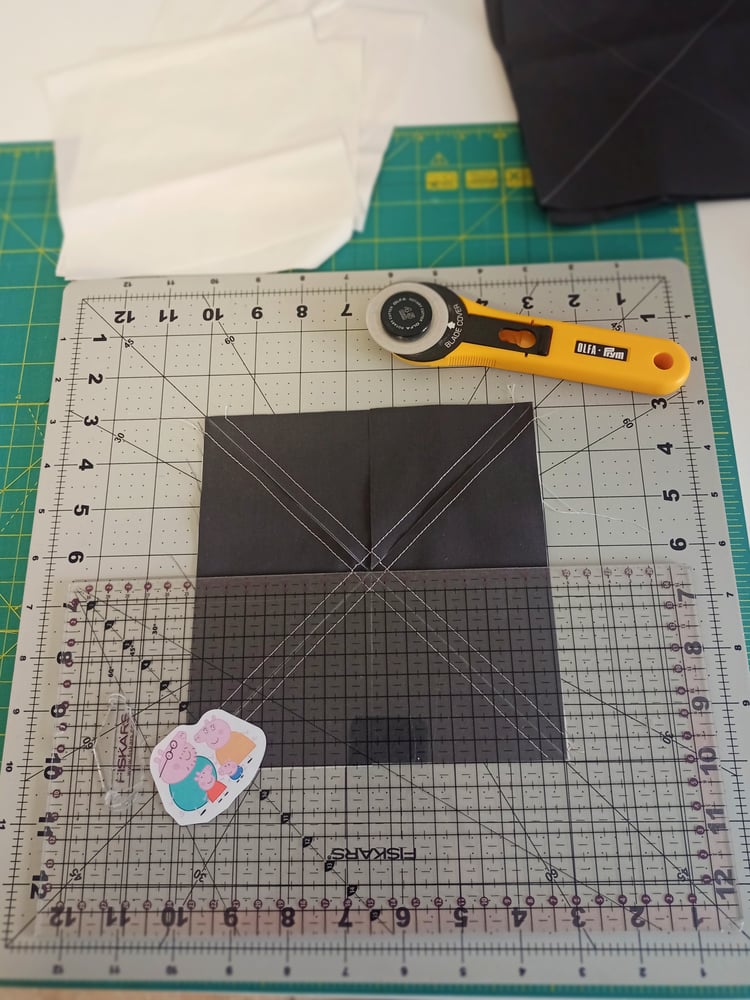
The pieces may shift as you cut along the different cutting lines. Don't worry! You can put the pieces back together in their original place in order to cut it, or cut the pieces separately following the marks we initially drew.
After cutting, you'll get (8) generous 3" HST blocks that you can trim down to 2 1/2" square - I'll take some photos of my black and white HST tomorrow and I'll update this tutorial ;)
I hope you enjoy sewing your HST this week. Which quilt size are you making? Share how many HST are you making this week at the comments below.
Thanks for reading!
Alexandra Bordallo
Comments ()